MediaPC
Apex AD-500W Reborn!
Images
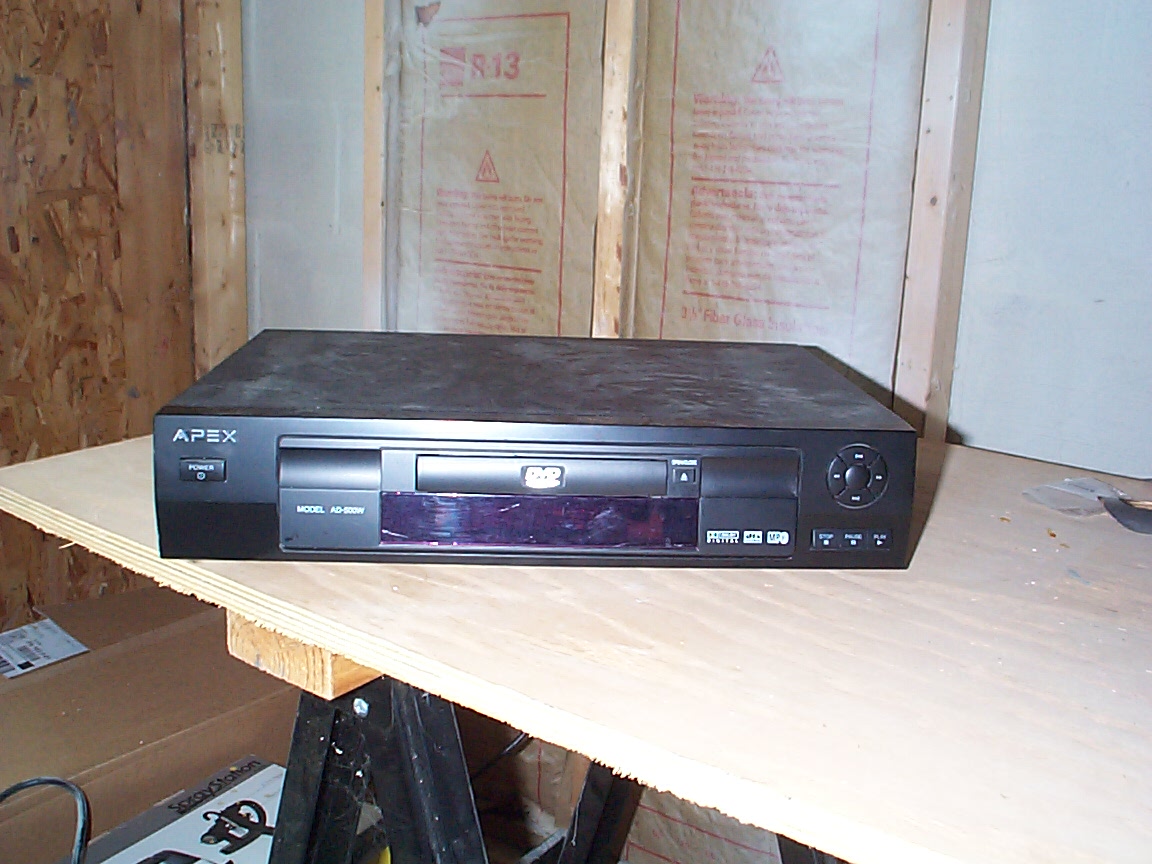
Front of Original Apex AD-500W.
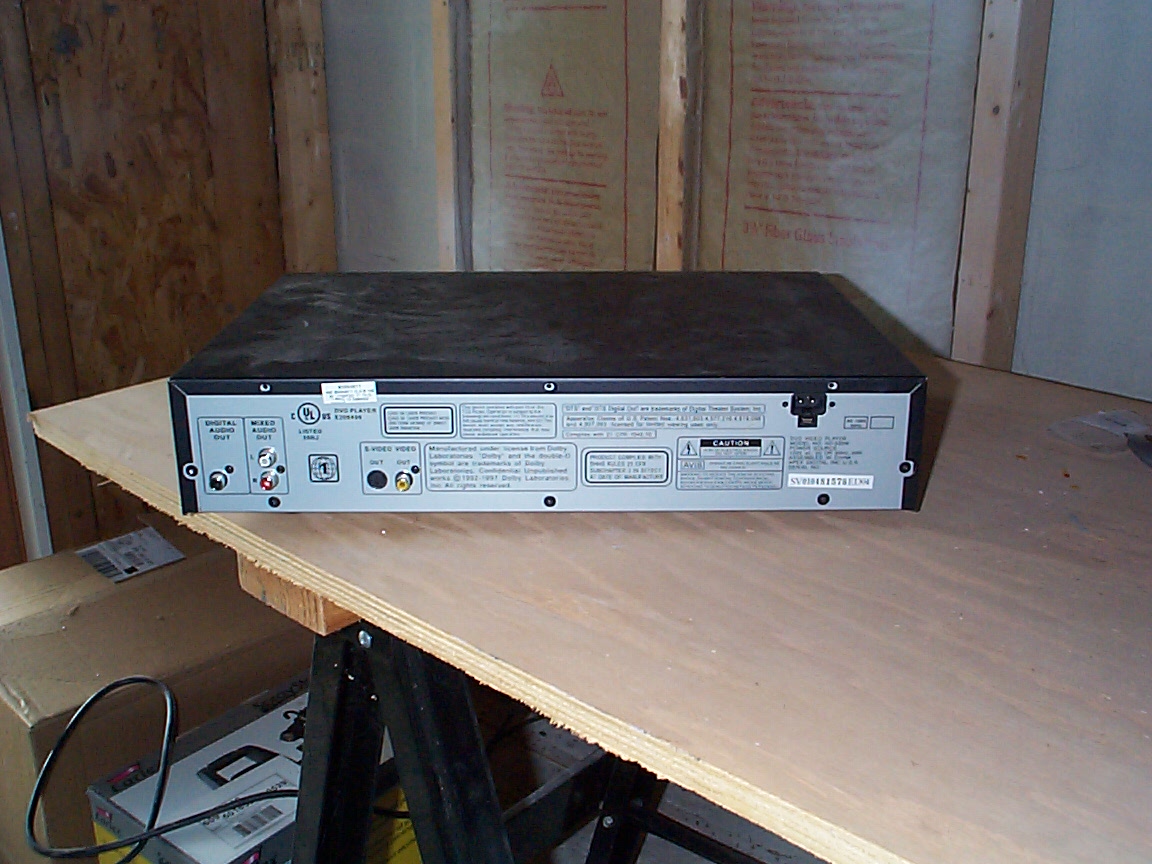
Rear of Original Apex AD-500W.
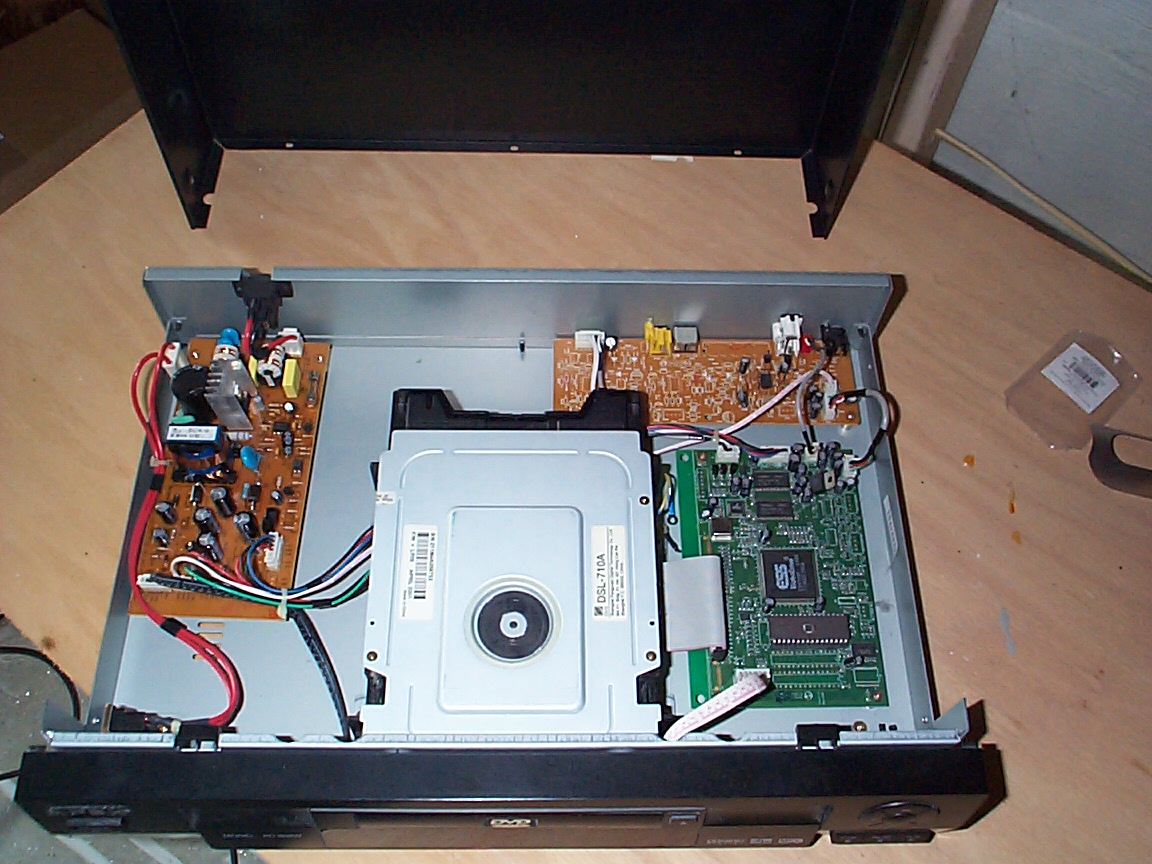
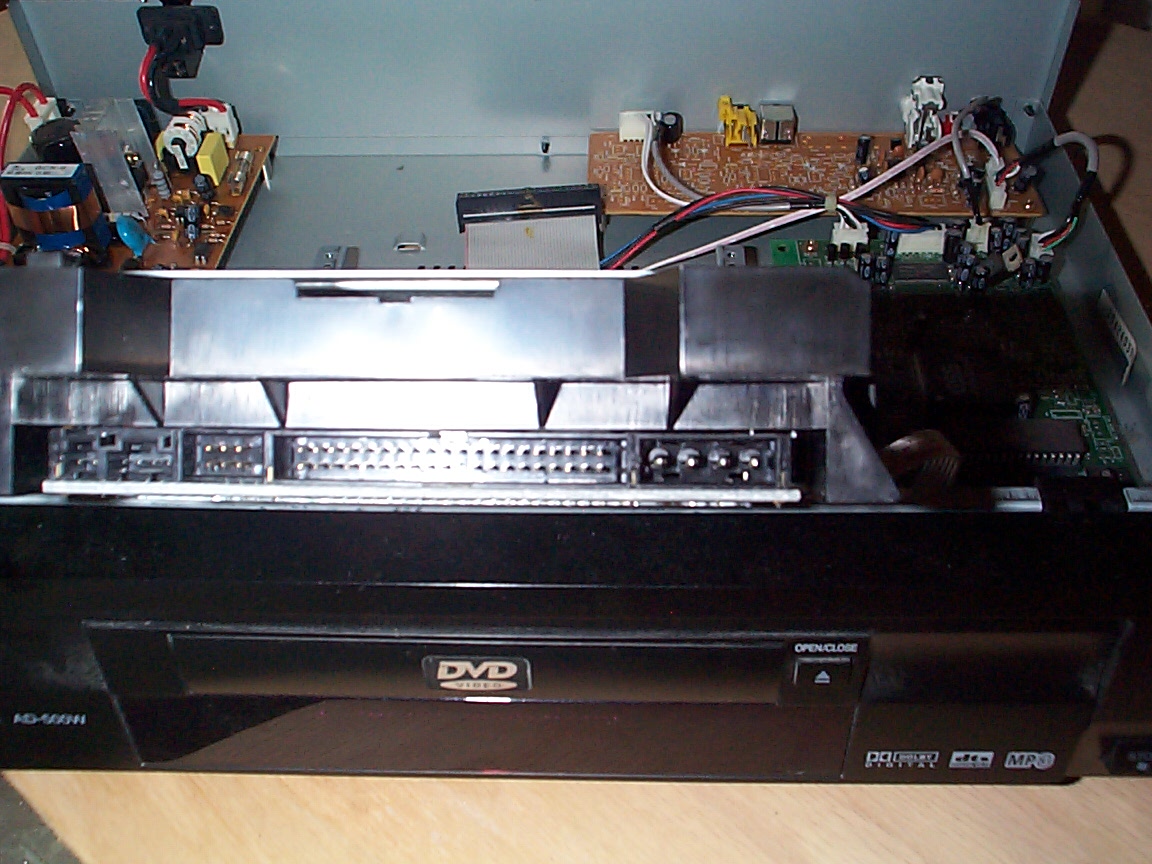
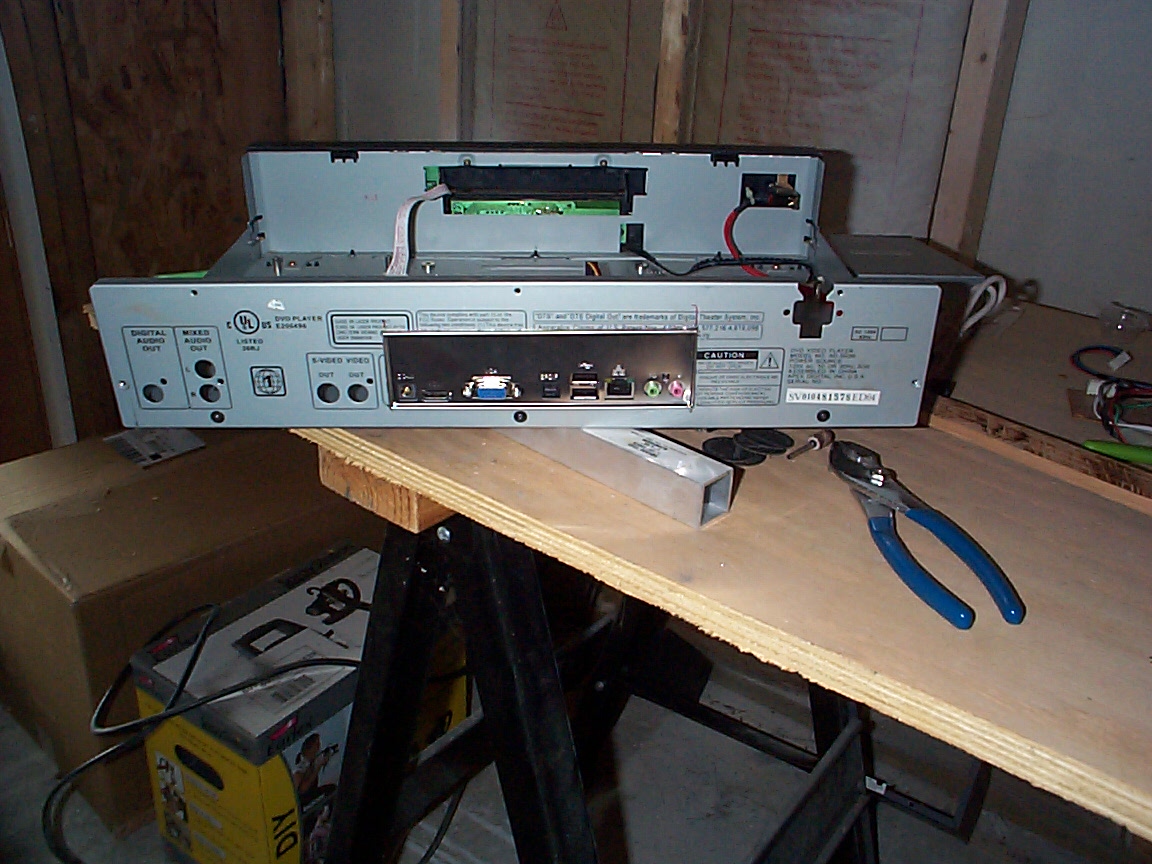
Upper Left, Power Supply. Upper Right, I-O Board. Center, DVD-Rom.
Bottom-Left, AT Power Switch. Bottom-Right, Main Processor Board.
After removal of the DVD-Rom.
Back of the original DVD Rom. Note the IDE Connection and AT power.
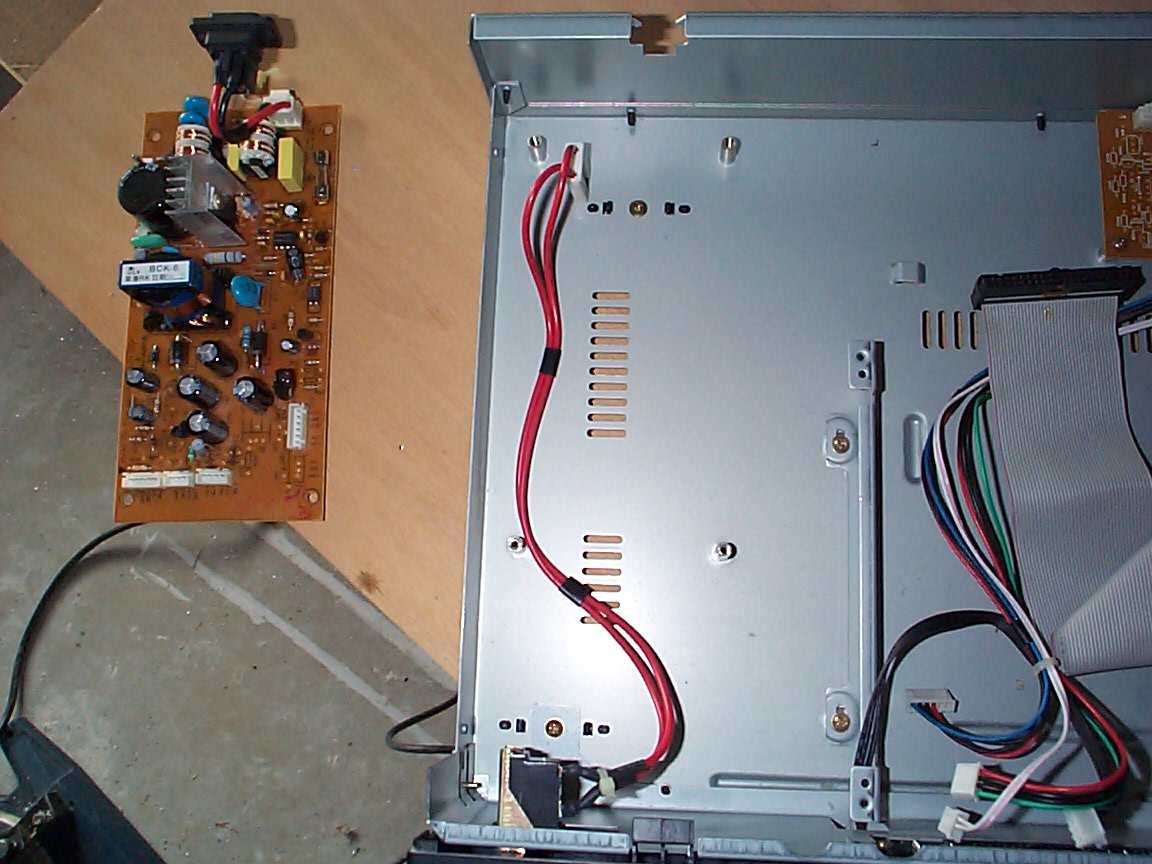
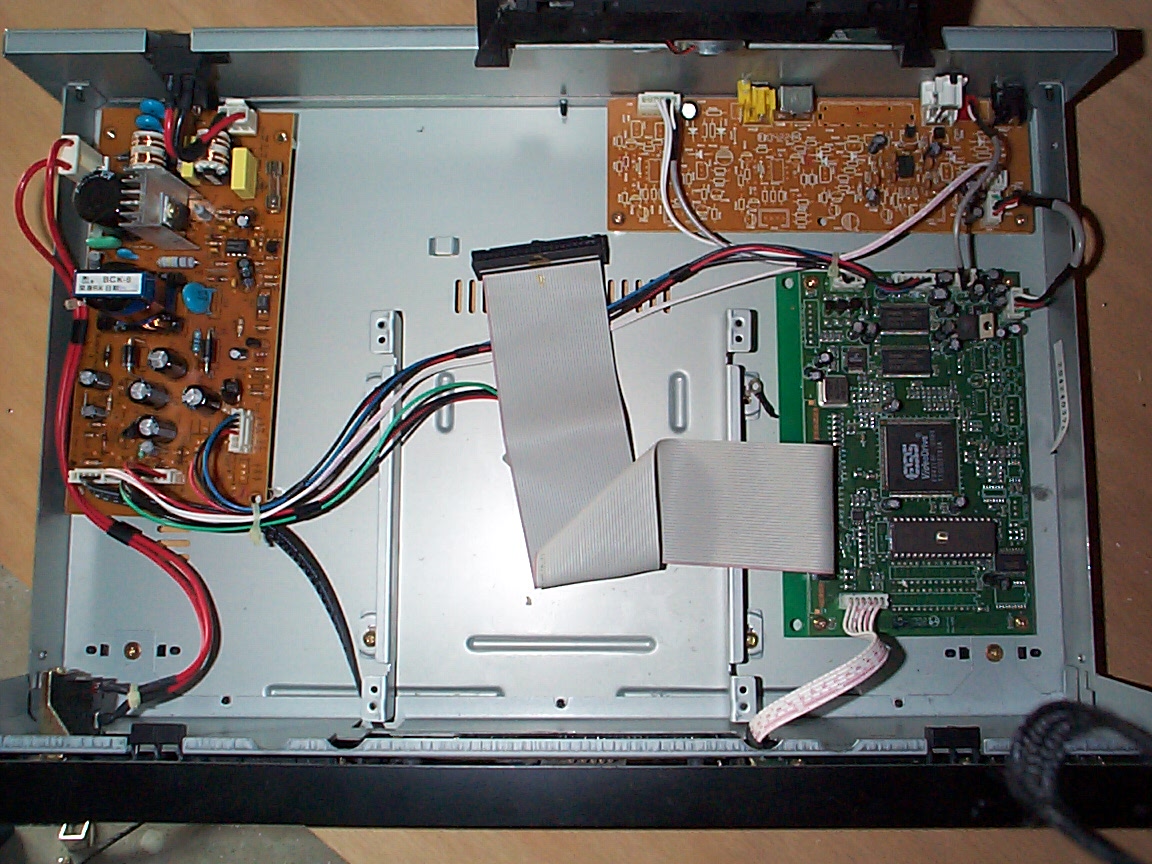
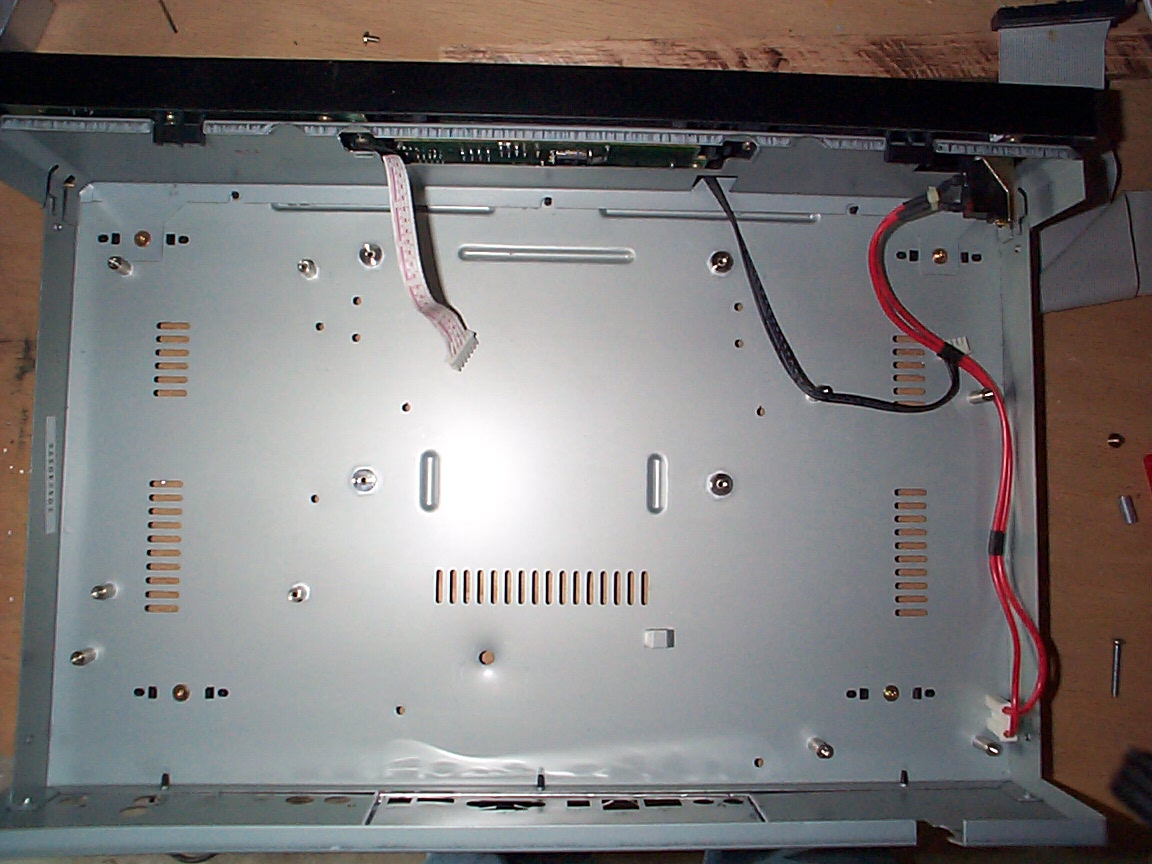
Power Supply Removed.
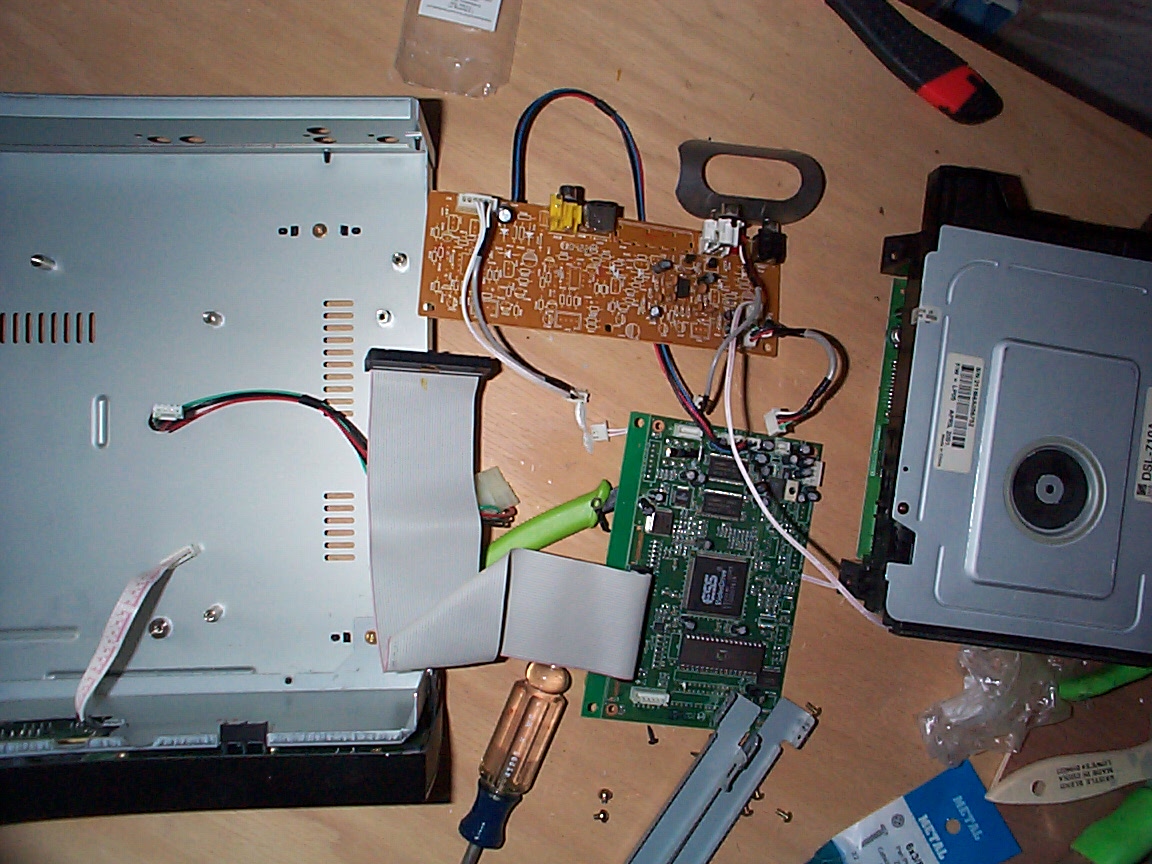
I-O Board and Main Processor Board removed.
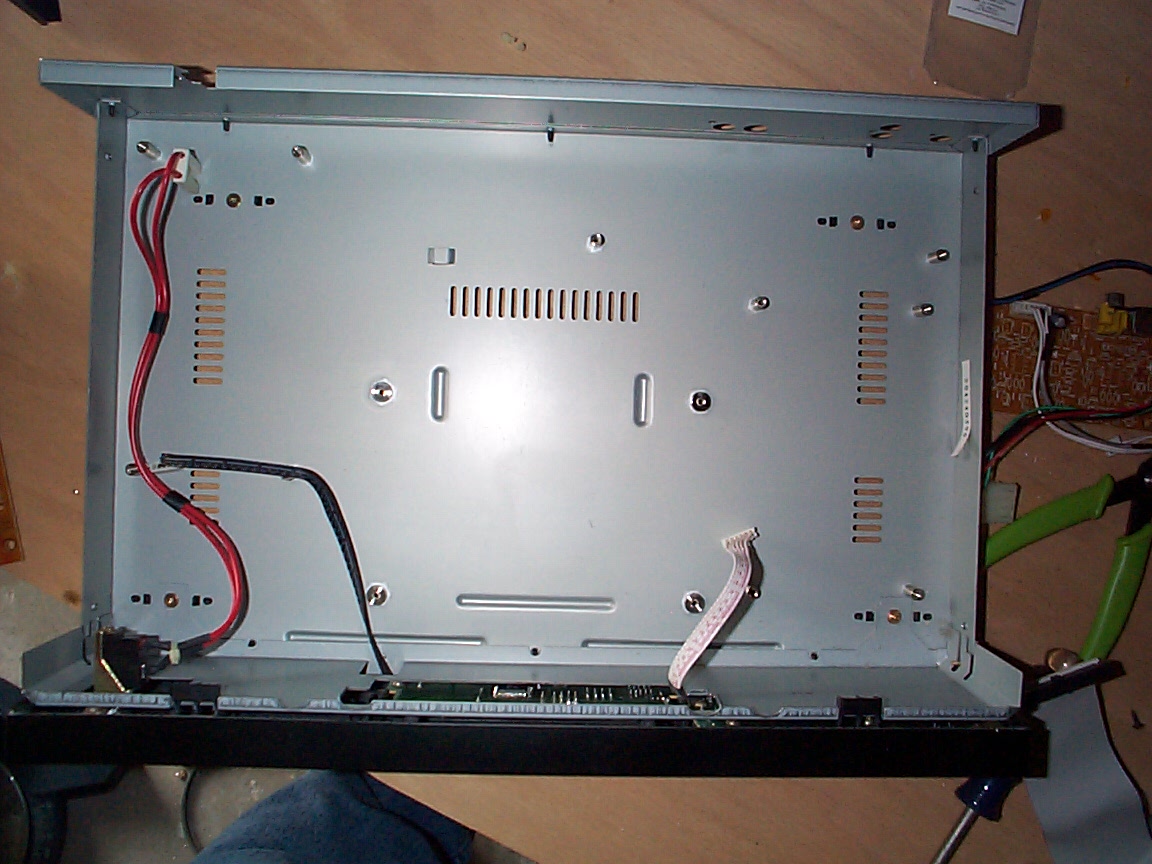
Empty shell, ready to be modified for new components.
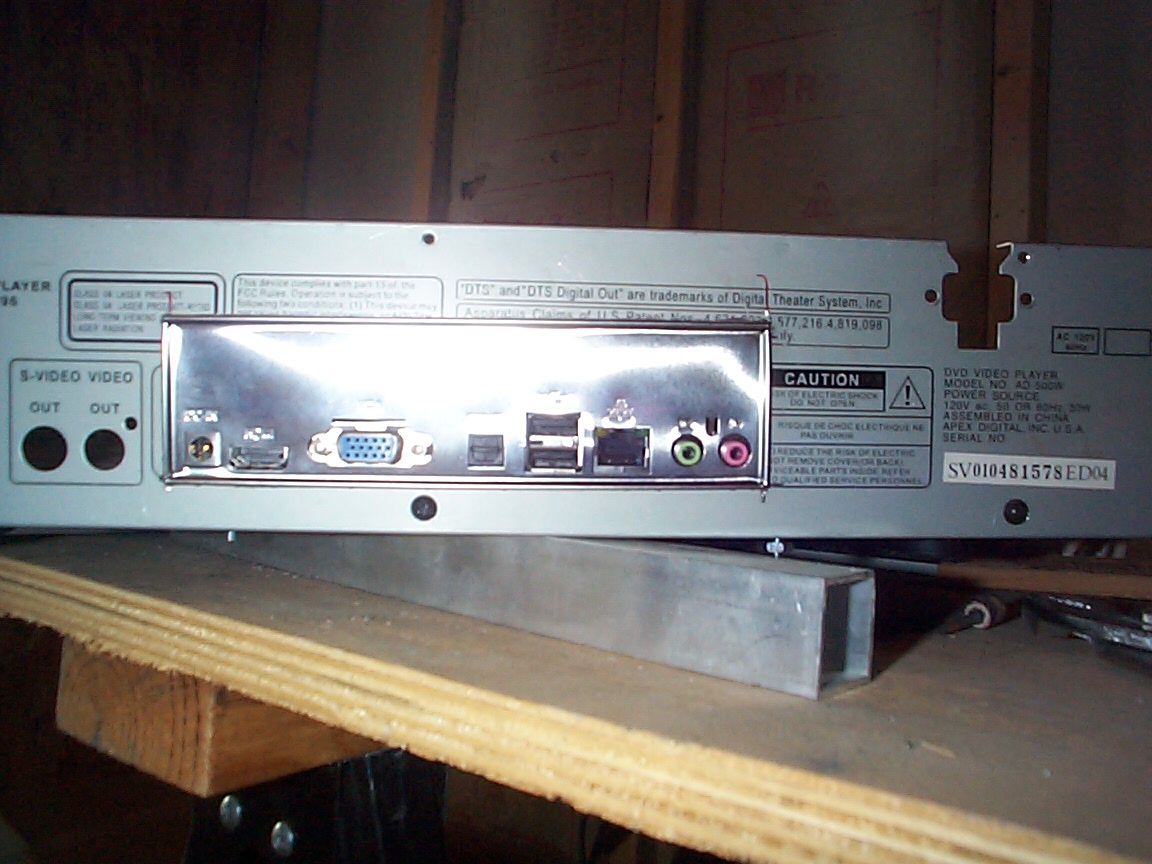
ATX Rear Plate mounted, after cutting out rectangular hole.
Another angle of ATX Rear Plate, with motherboard in place.
Motherboard dry-fitted to mark screw holes.
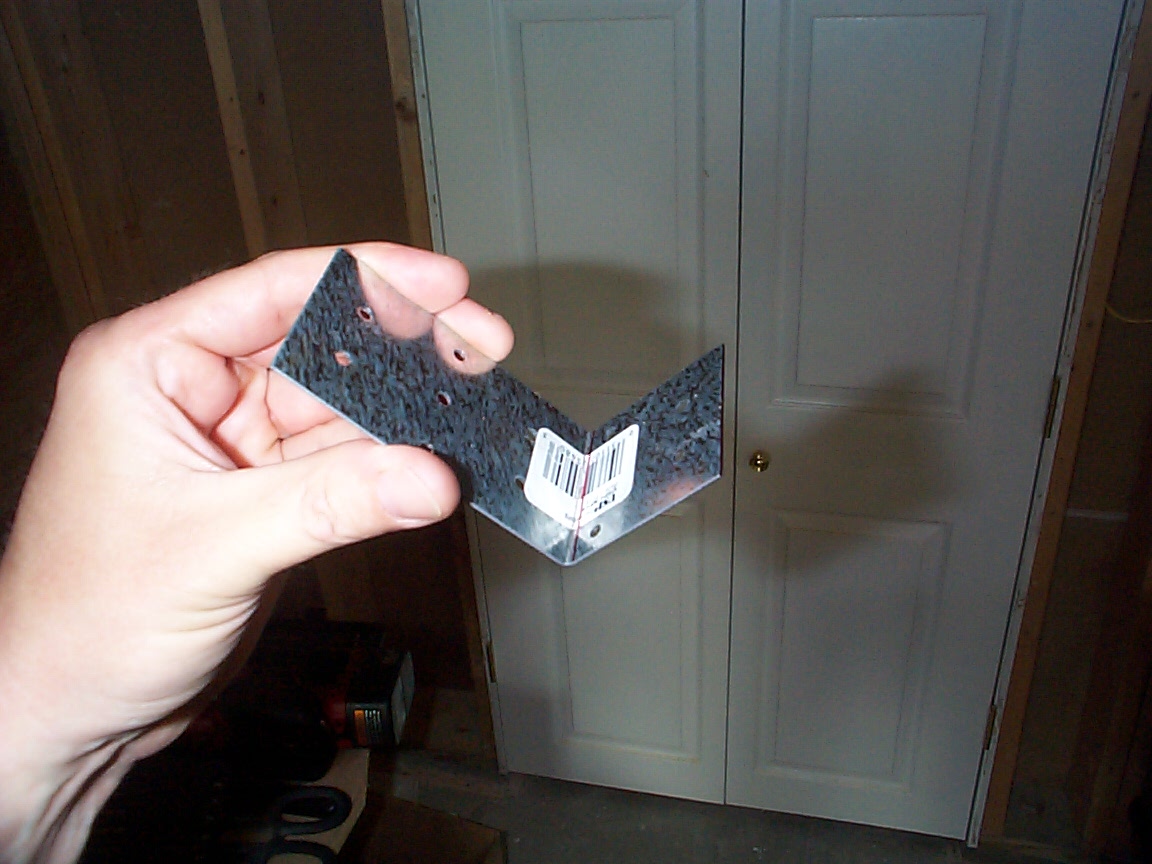
Mounting angle made using truss plates from home center.
USB Card Reader on mounting brackets, dryfitted to mark screw holes.
Screw holes completed. Note where a factory standoff had to be removed.
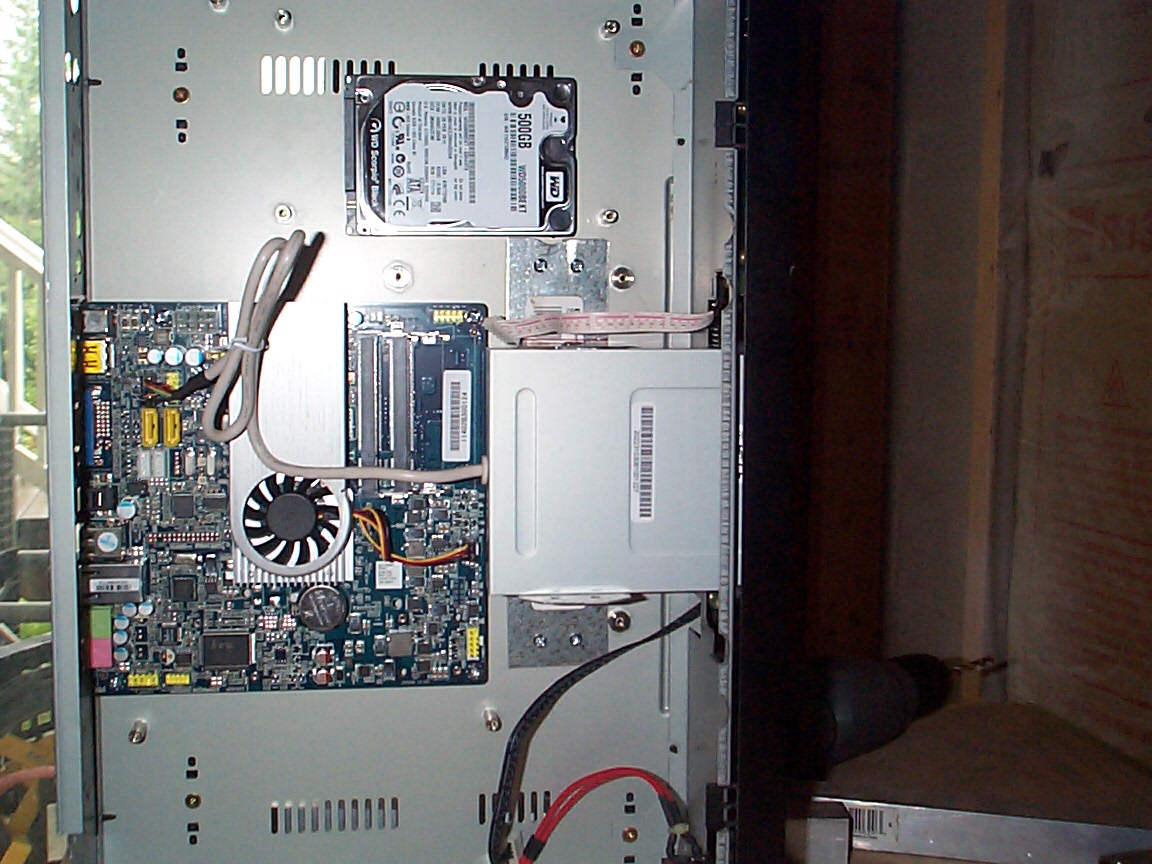
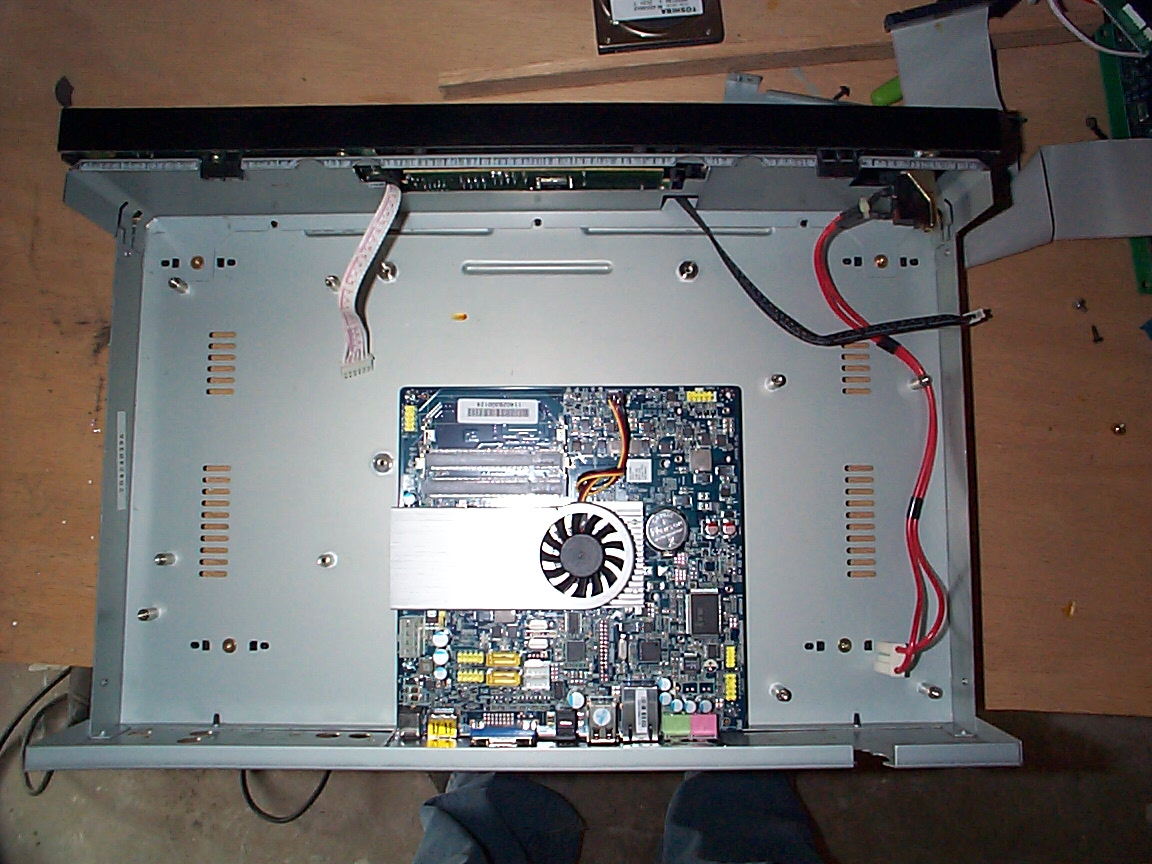
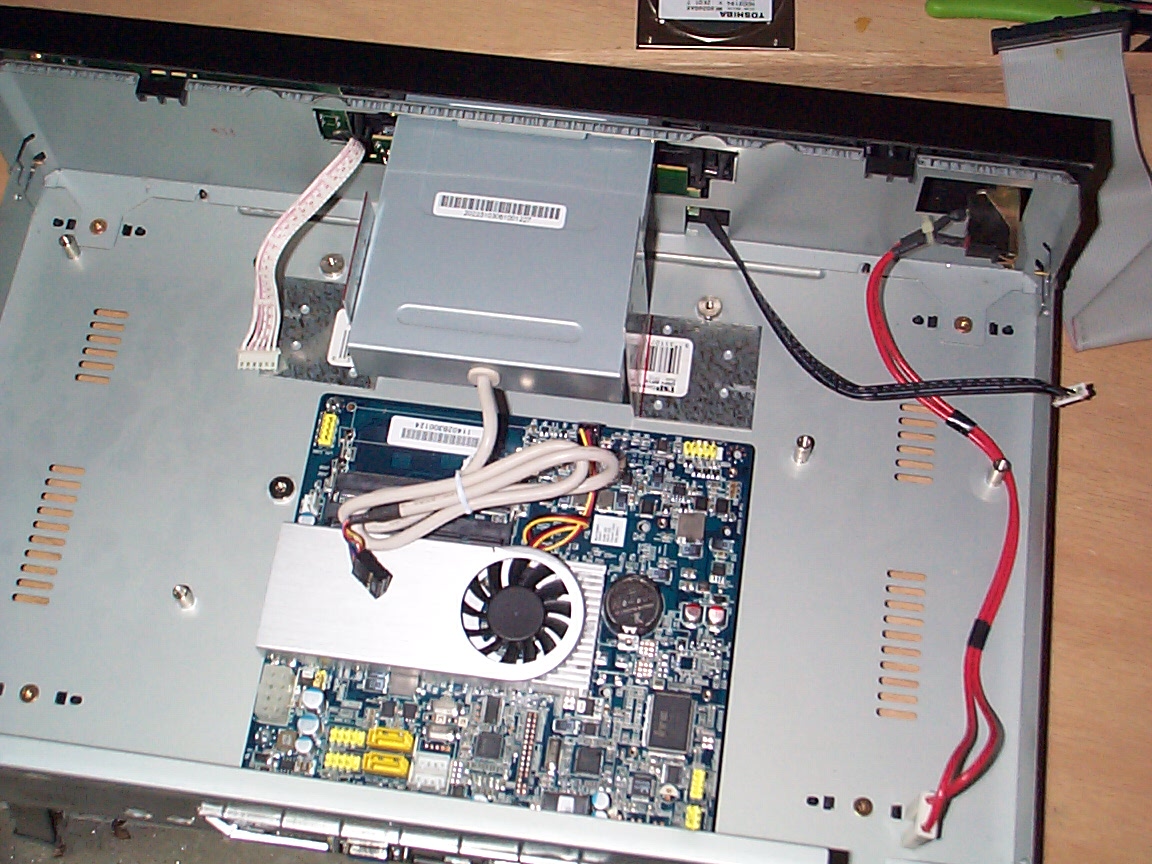
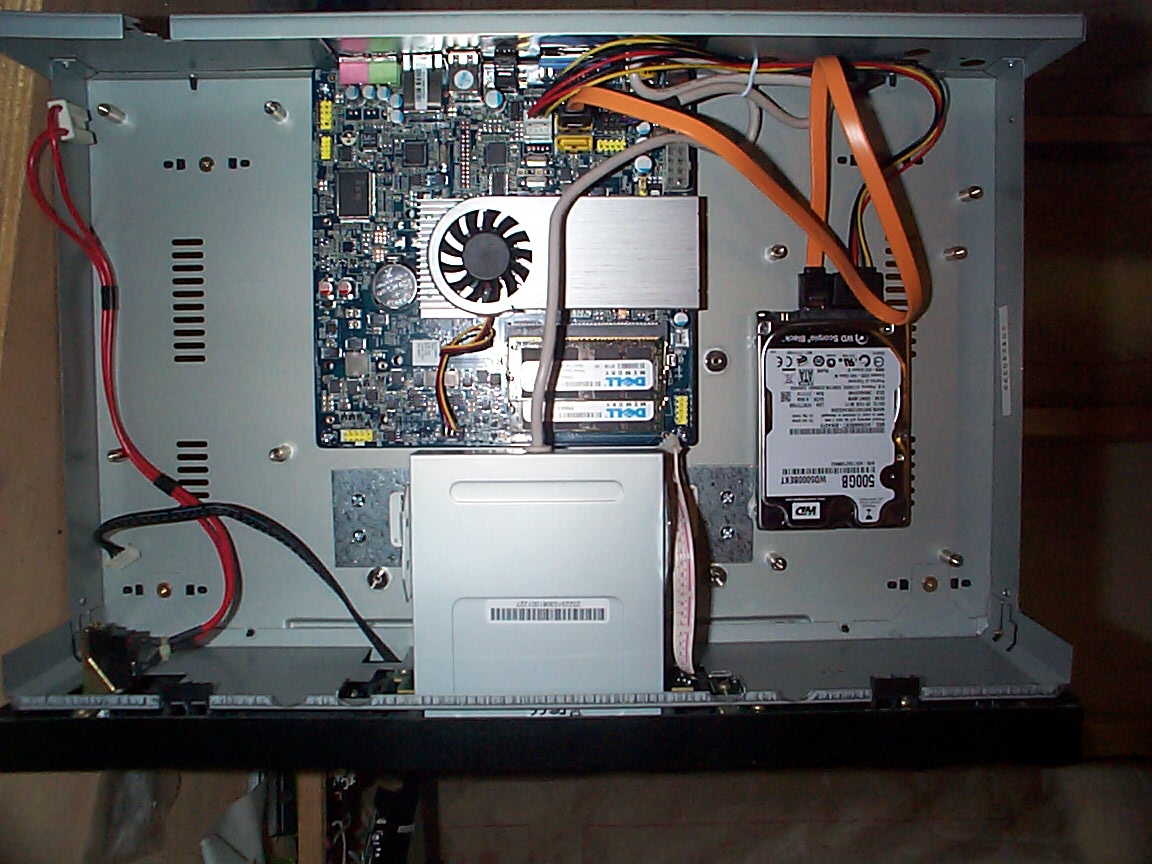
All new components securely mounted.
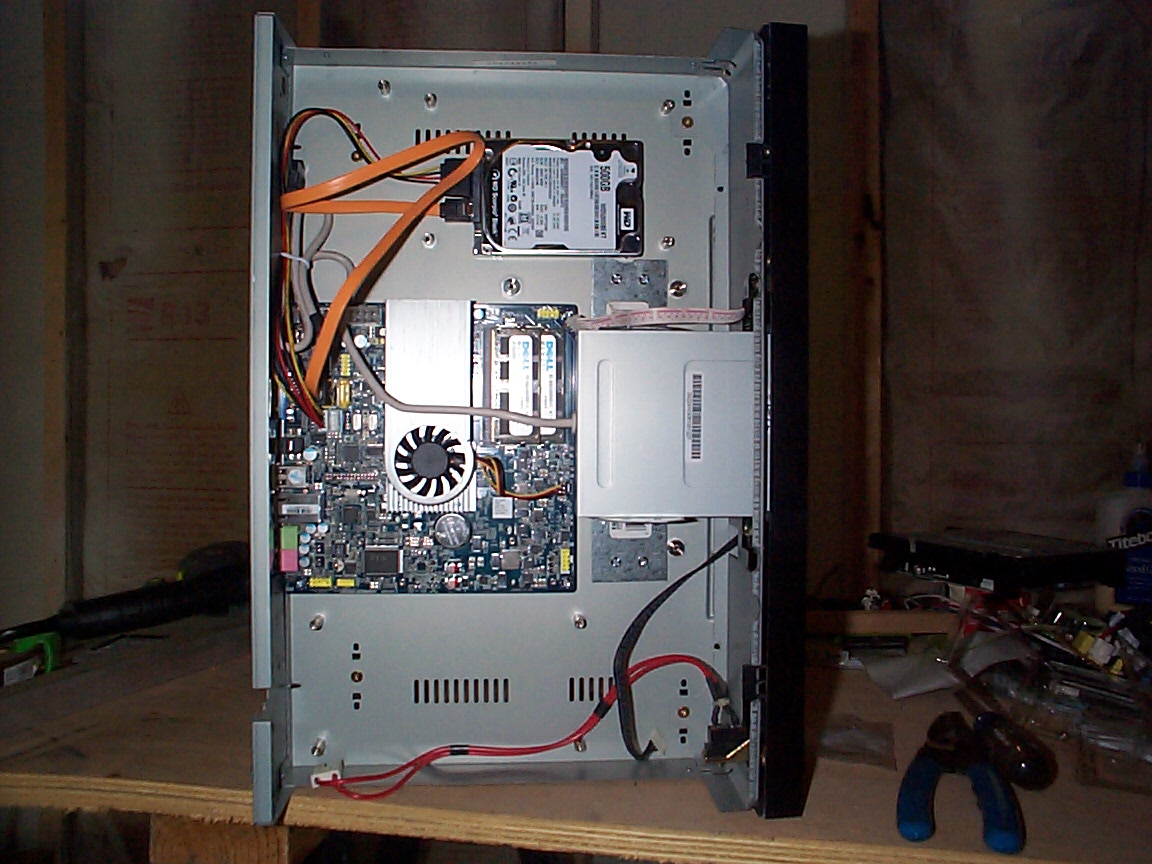
Components mounted, devices are cabled, RAM is inserted.
Almost ready for power-up. Notice stock power switch is still in place.
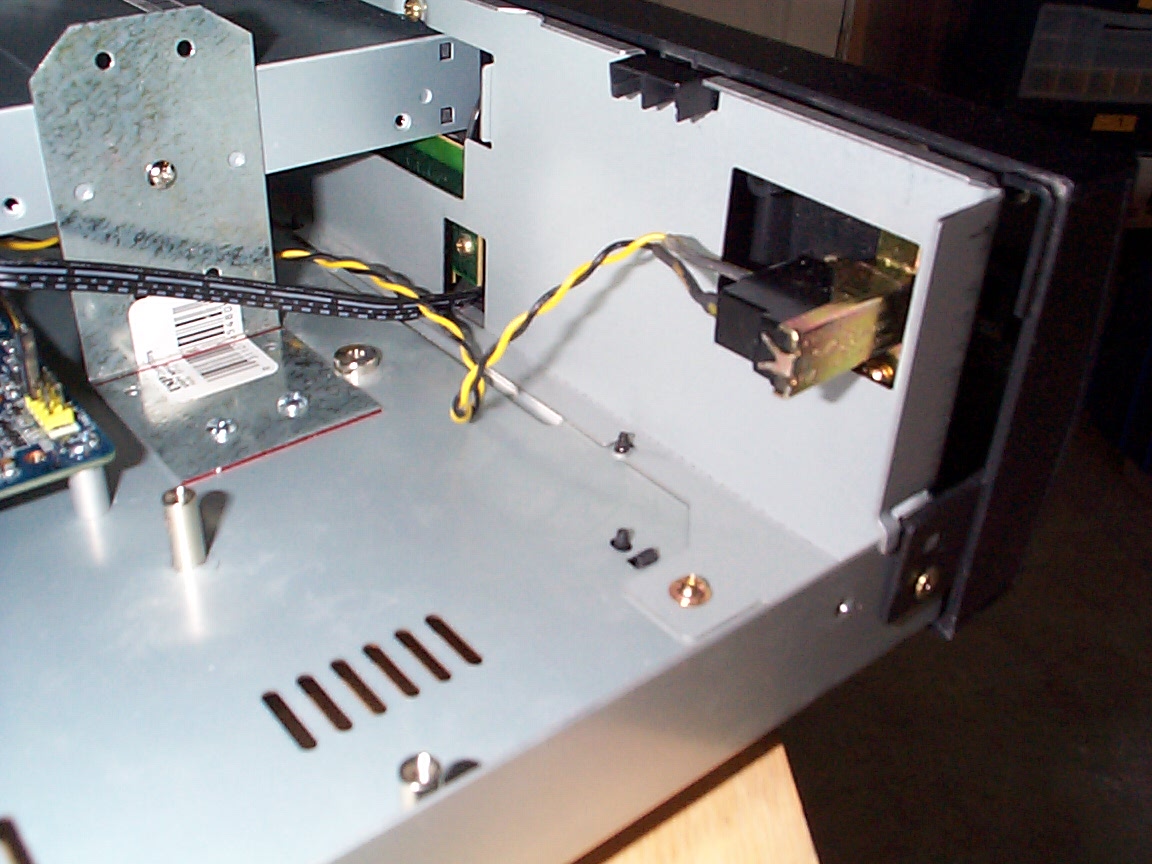
Modified Power Switch.
Construction
This is my MediaPC. I built it using the case from an Apex AD-500W DVD player I bought back in 2000. I decided to replaced the stock innards with a computer motherboard peripherals. The original intent was to use it as a media pc that I could watch in my bedroom.
The Apex had sentimental value, as it was one of the first devices that I hacked. The hack involved replacing the stock background with a picture of my 1999 Miata.
For the motherboard, I used a Giada Mi-525T. Based on the Intel Atom processor, it has moderate processing power, low power consumption, and onboard HDMI outputs. For some reason I am a big fan of the Intel Atom processor. The motherboard has an external power brick which would help in keeping it cool inside, and allow for more space to mount the hard drive, etc. The HDMI video outputs would interface directly to my LCD TV.
I started by removing all of the original internals. The stock DVD player consisted of a main processing board, a power supply, an output board, and a slightly modified PC IDE DVD Player. That's right, a computer dvd rom! The initial plan was to use either this player, or a newer one. Unfortunately, after mounting the motherboard, there wasn't enough clearance to use it.
By dryfitting the new components in the case, I was able to determine the best placement. I then marked where the screw holes should go and drilled accordingly. After that, I marked where the atx back plate should go, traced around it, and started cutting it out with a Dremel tool. After going through about 6 regular emery cutting wheels, I found a reinforced disk and completed the trimming without having to change wheels.
I acquired some aluminum spacers and 6x32 screws and nuts from the local hardware store, and mounted the motherboard. The hard drive was mounted using #6 nuts as spacers and the appropriate screws for the hard drive.
Instead of a DVD Player, I decided to use an internal USB card reader, that would be accessible through the DVD loading slot. I got a couple of truss plates from the hardware center, and using my Harbor Freight sheet metal break, I fashioned two angle brackets and mounted it.
The original power switch was an AT style switch, that when pressed in, would lock, and stay constantly on. I was able to remove the locking pin, and converted it to a momentary switch, which in essence was now an ATX style. Alex, the electronics guy from work, soldered a power switch lead from a surplus pc I had on it. The switch now looks stock, and works appropriately.
WARNING!!! Some of the techniques and procedures listed on these pages are dangerous! If you decide to follow any of them, please use common sense, caution, proper tools, and follow proper safety guidelines. Use of power tools must be followed using the manufacturer's instructions. The voltages in exposed electrical components are deadly, it CAN kill you! If you doubt my words, ask any paramedic. So, in a nutshell, if you get hurt, maimed, killed, you burn up your pc, components, your house, car, boat, your dog gets pregnant, etc., DO NOT BLAME ME! You have been warned.